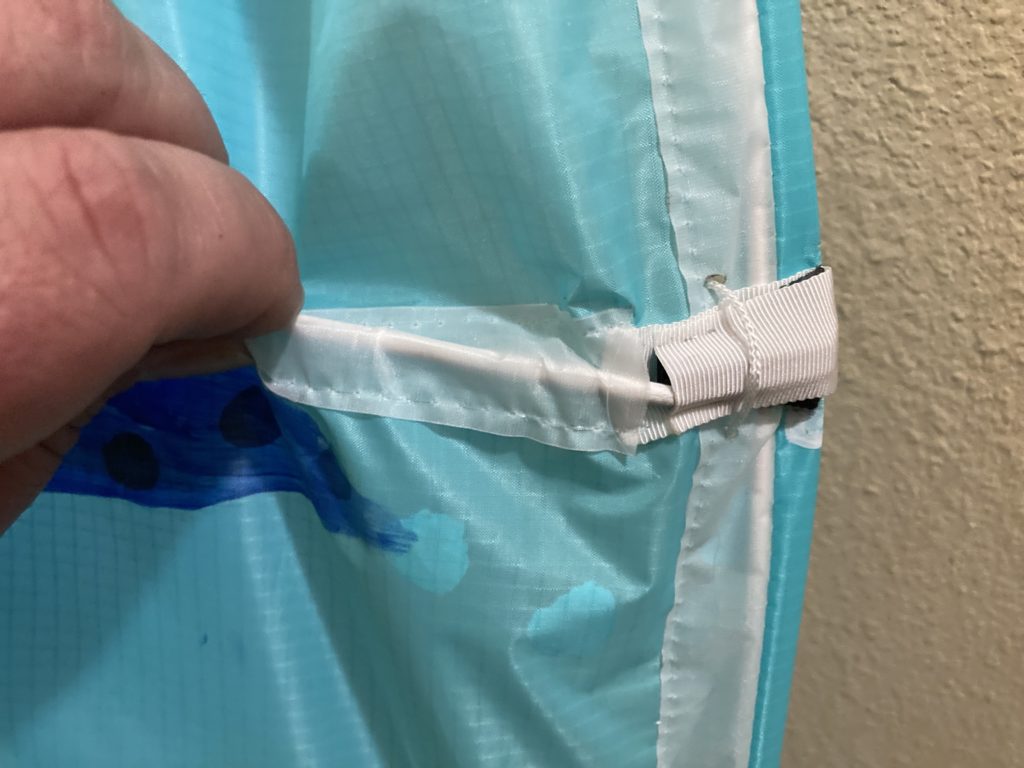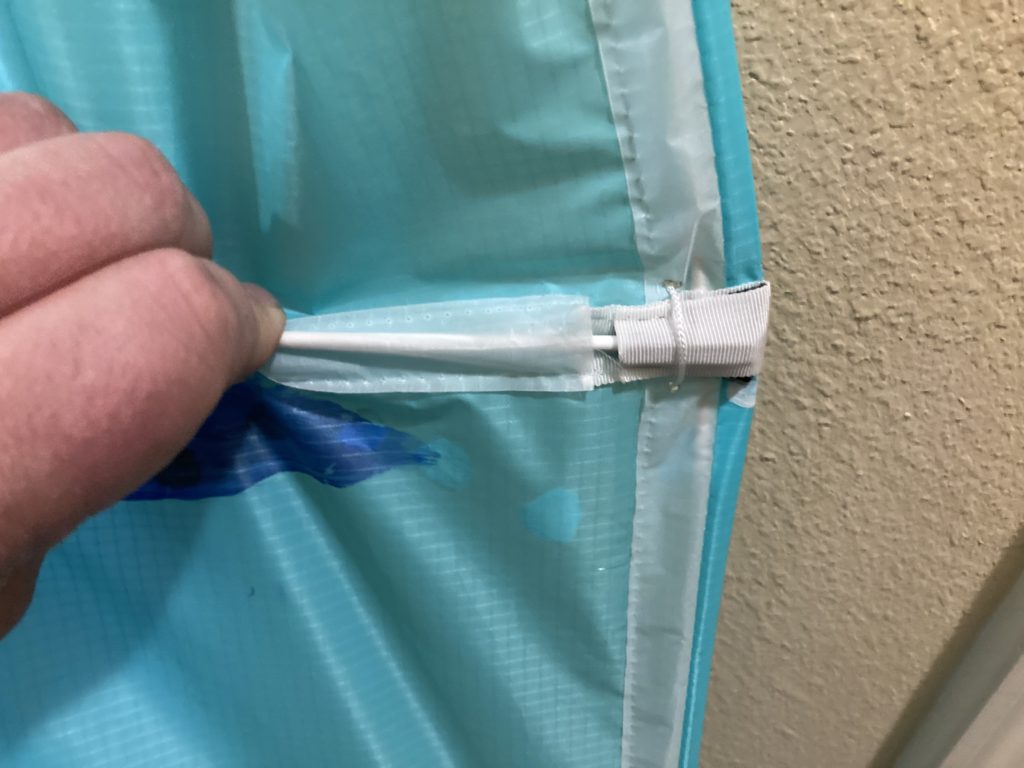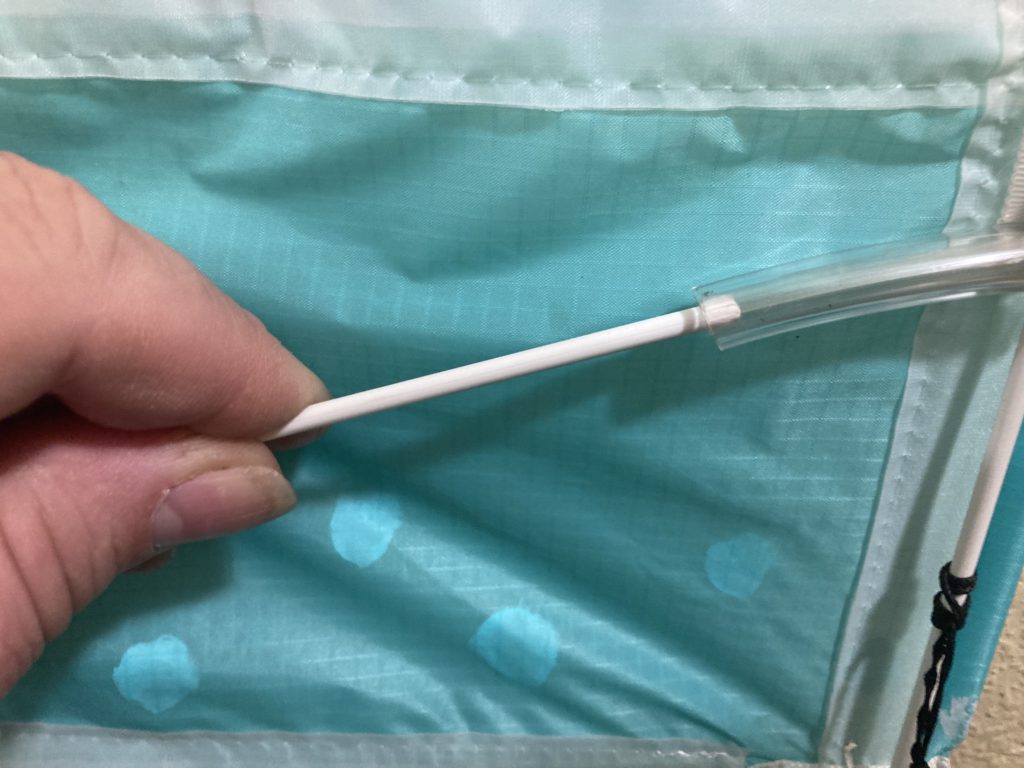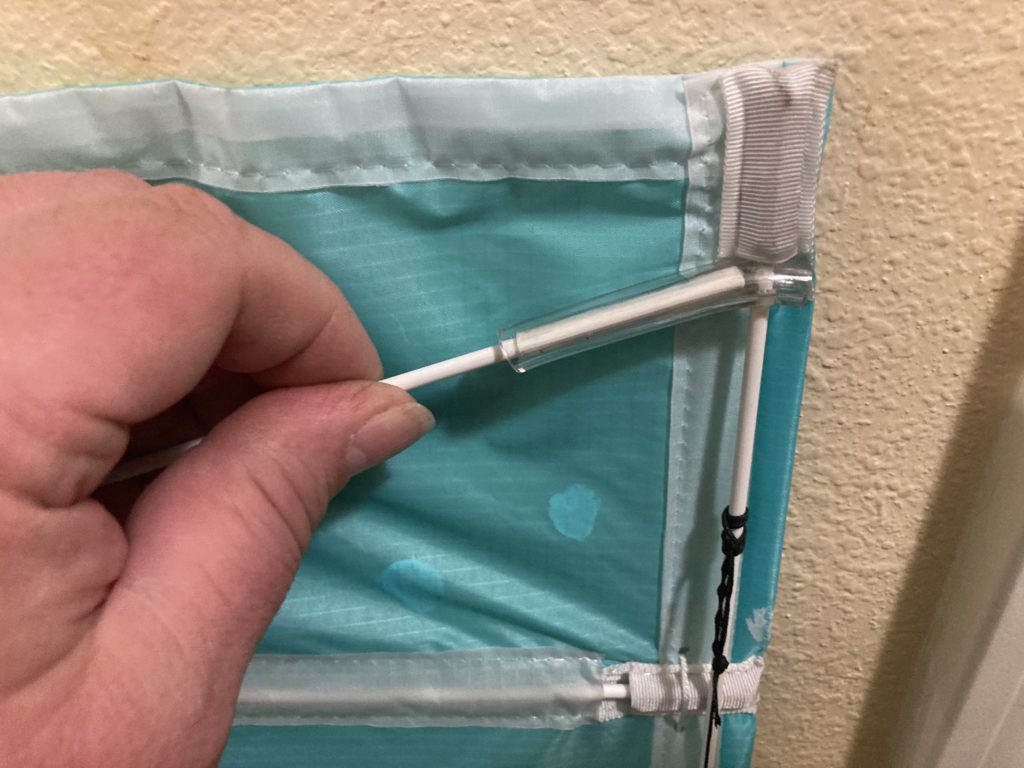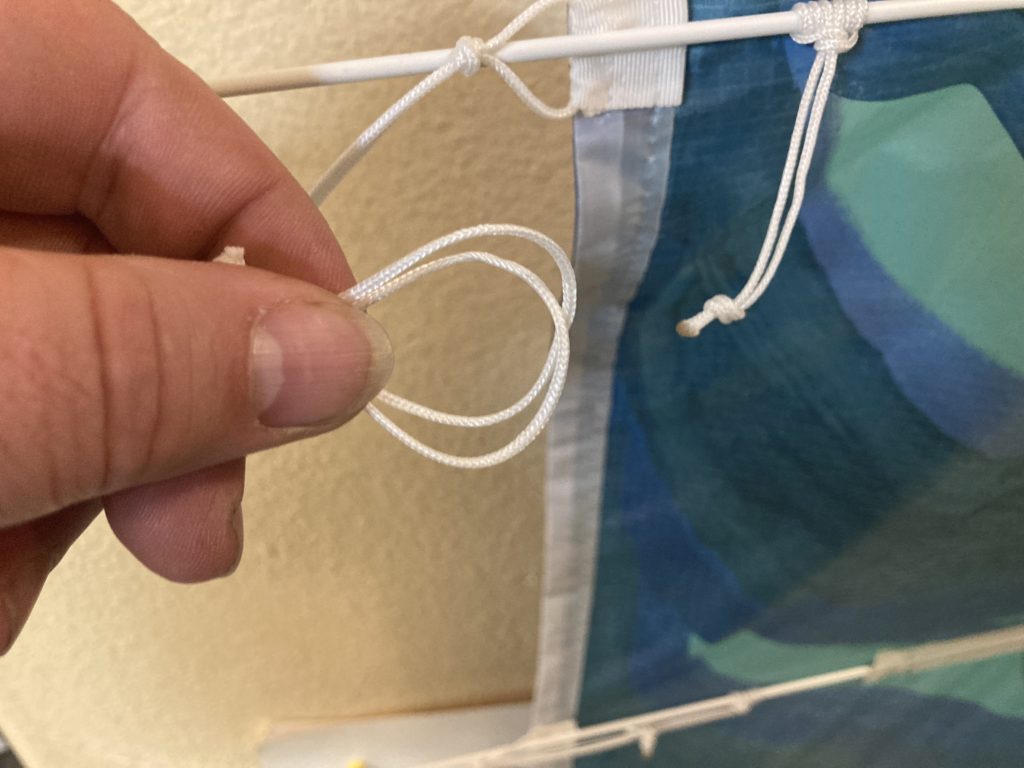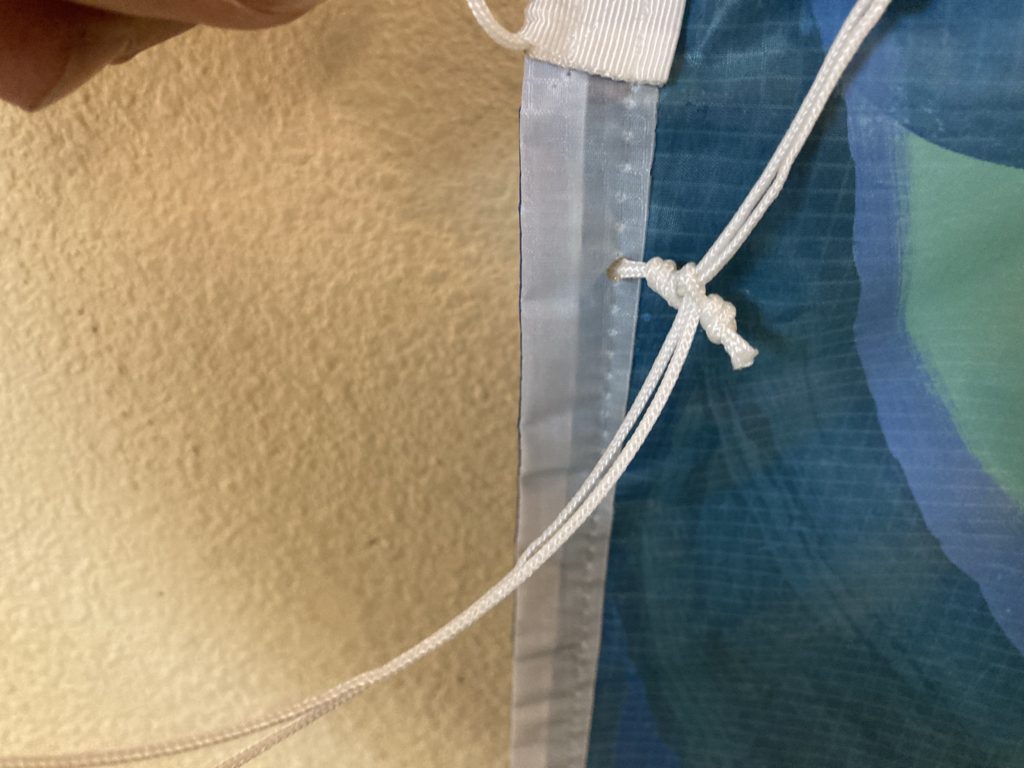
This kite is framed with fiberglass rod. Please take care not to slide the rods along your fingers or hands! Fiberglass splinters are not a delight to catch, and can take weeks to get rid of.
This process works best with 2 (or even 3) sets of hands. It can be done with the painted face on the floor or ground, but I found it easiest with the painted face of the sail leaning against a wall on its side.
The parts
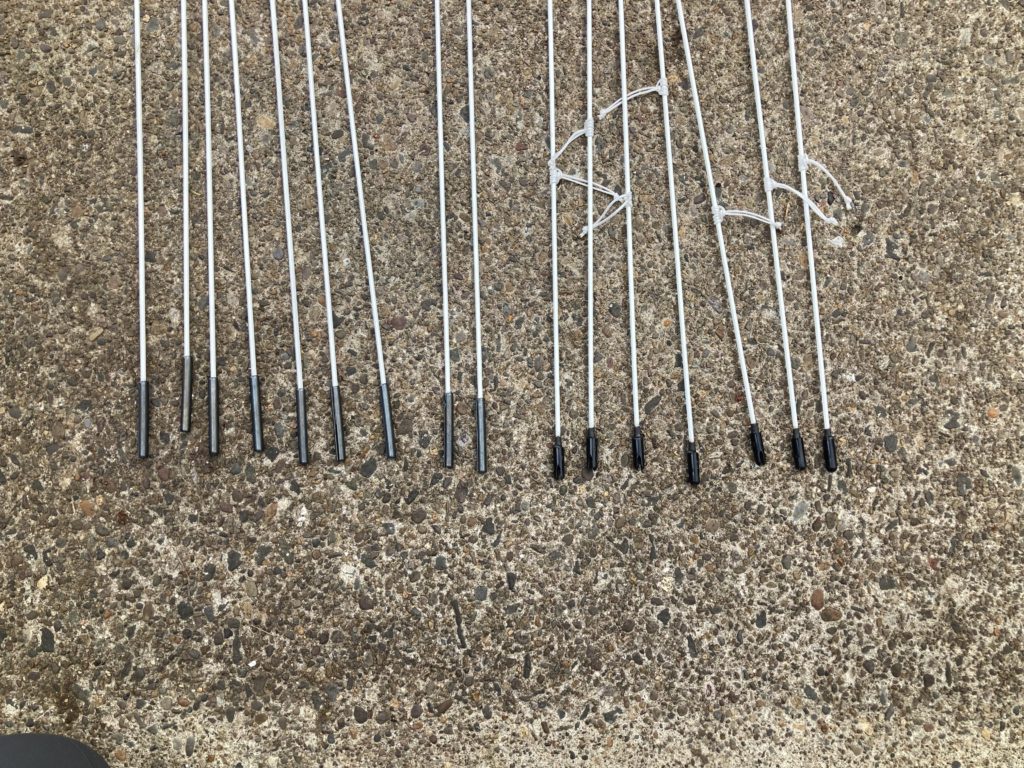
Framing the sail
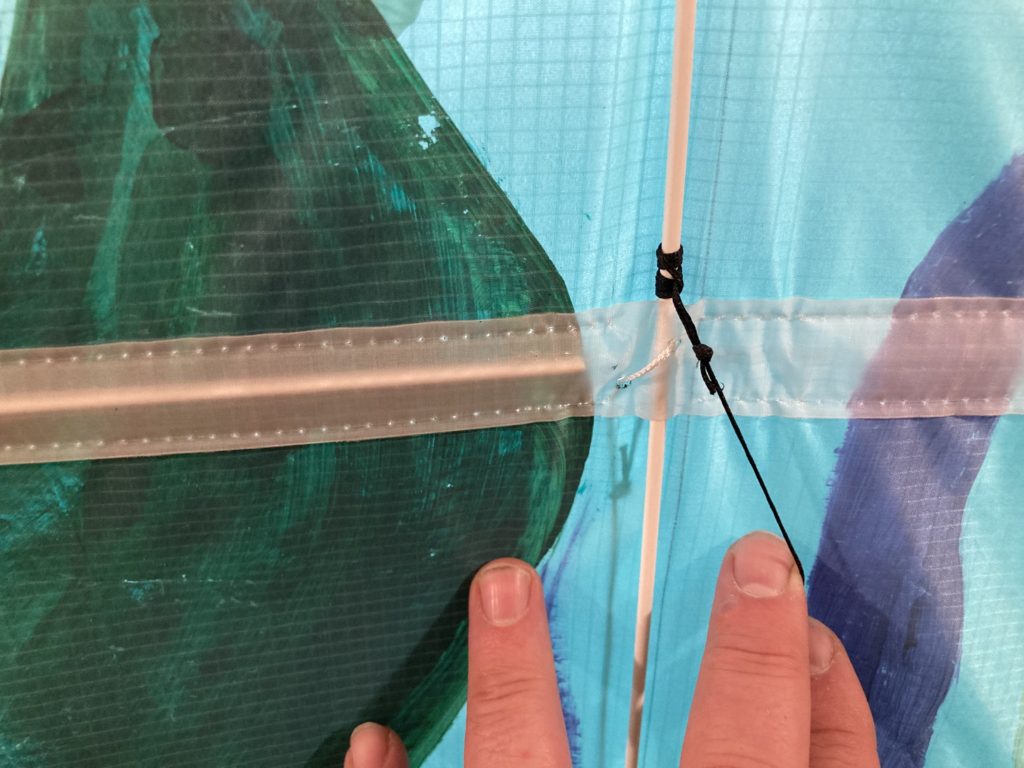
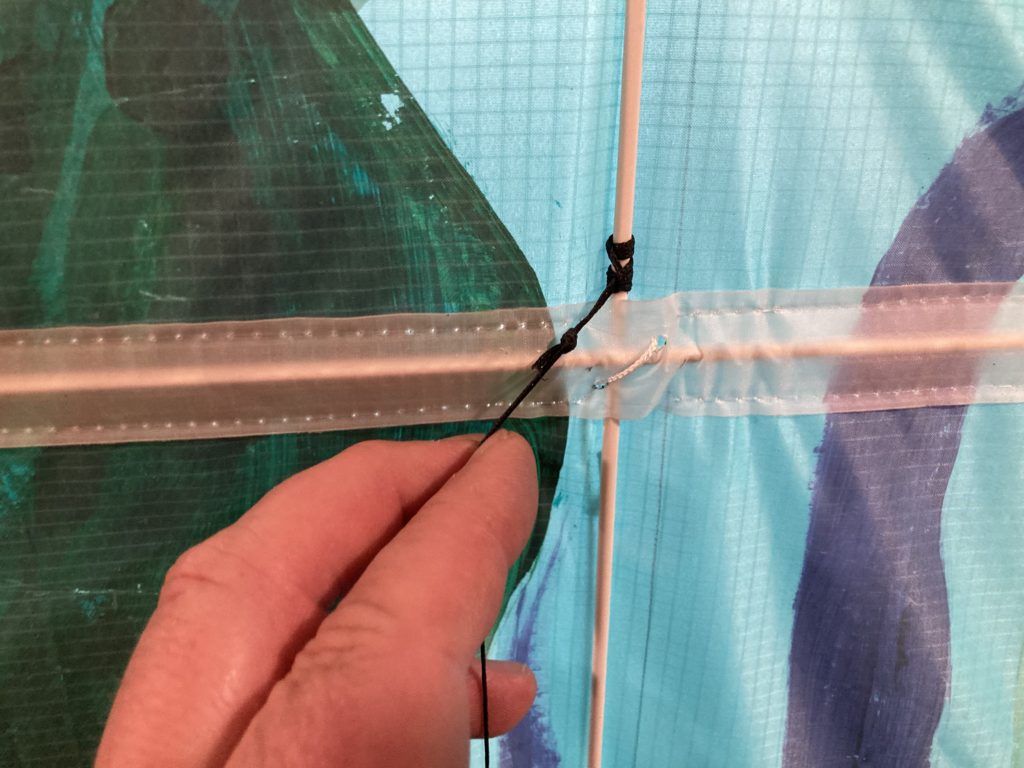
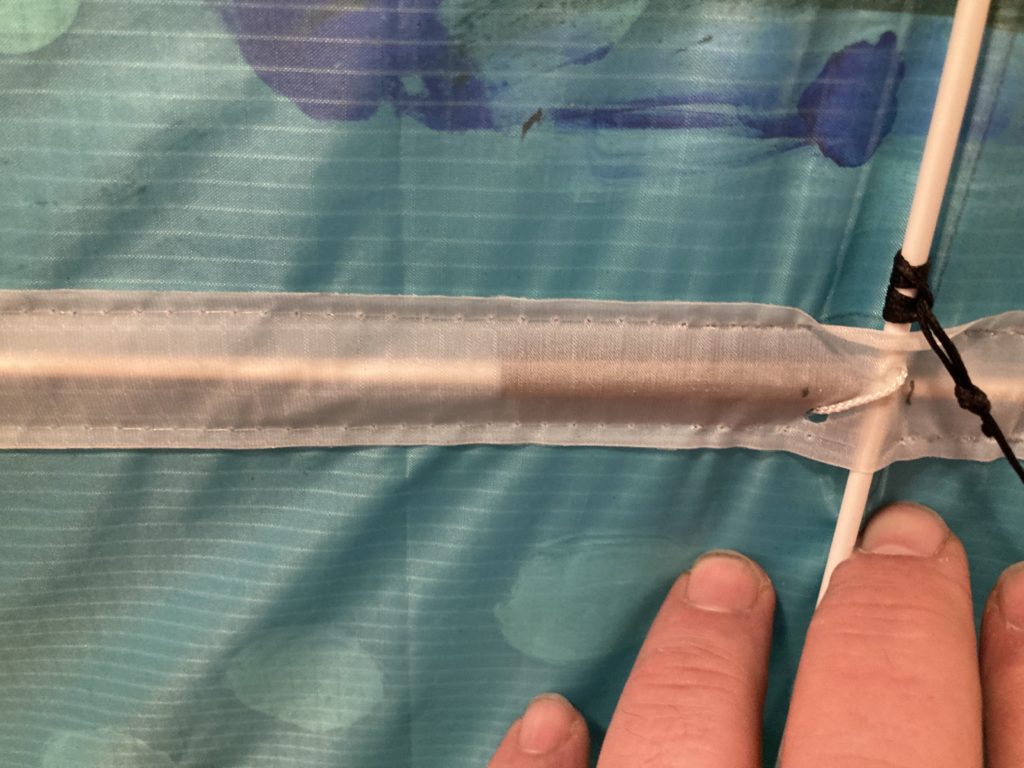
When the assembly reaches the far side of the sleeve, ensure that the end of the rod seats into the fitting inside the pocket at the nose of the sail. Remember this is for all 5 of the sleeves, and should leave you with 2 each of top rods, bottom rods, and extensions for the next steps.
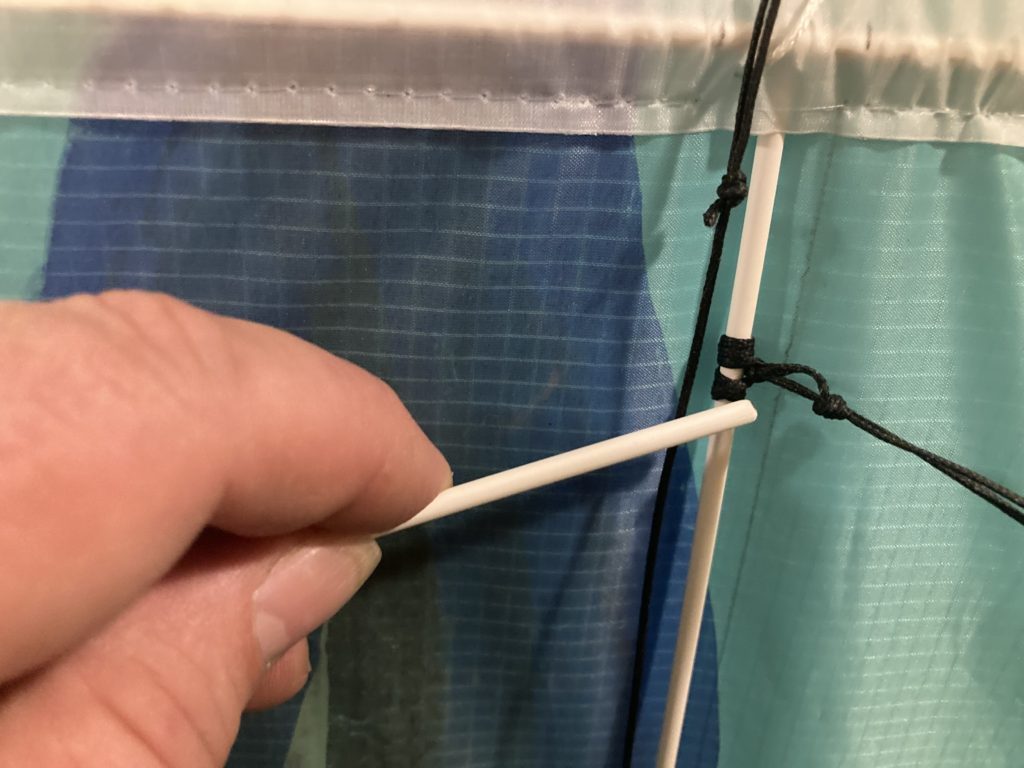
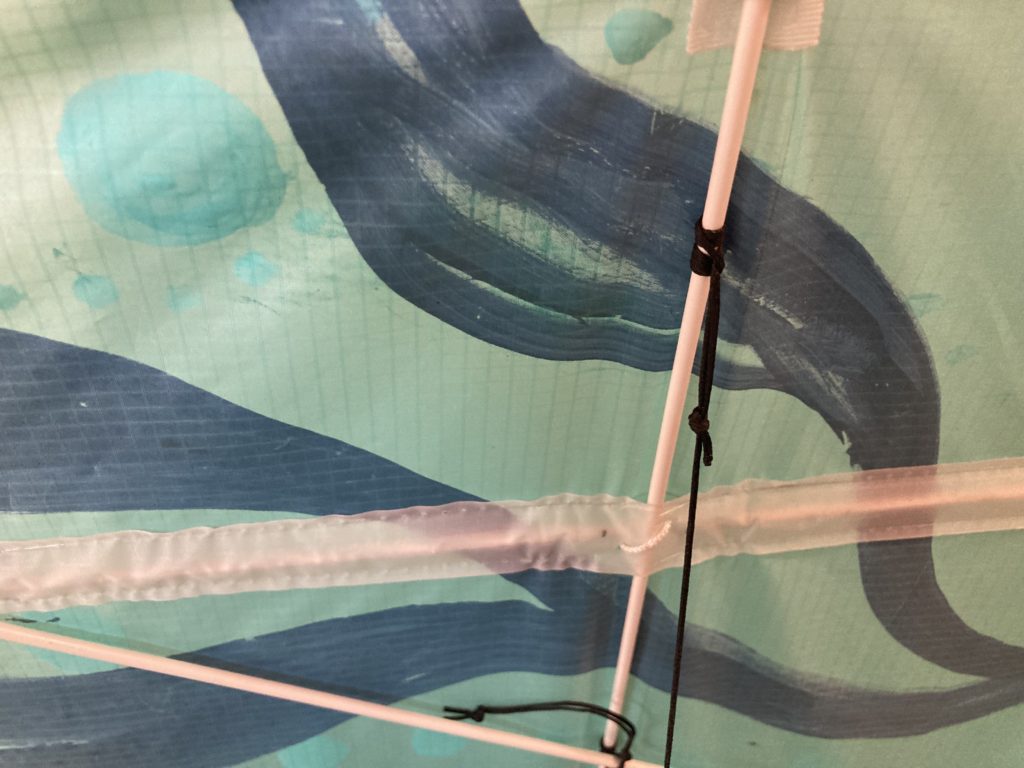
With one of the remaining top rods, with the nose of the sail as your target thread through the smallest loops in the black line glued to the spreaders that this rod would reach.
Once you’re through all the loops that the top rod reaches, insert the top rod all the way into the vinyl tubing at the nose of the sail.

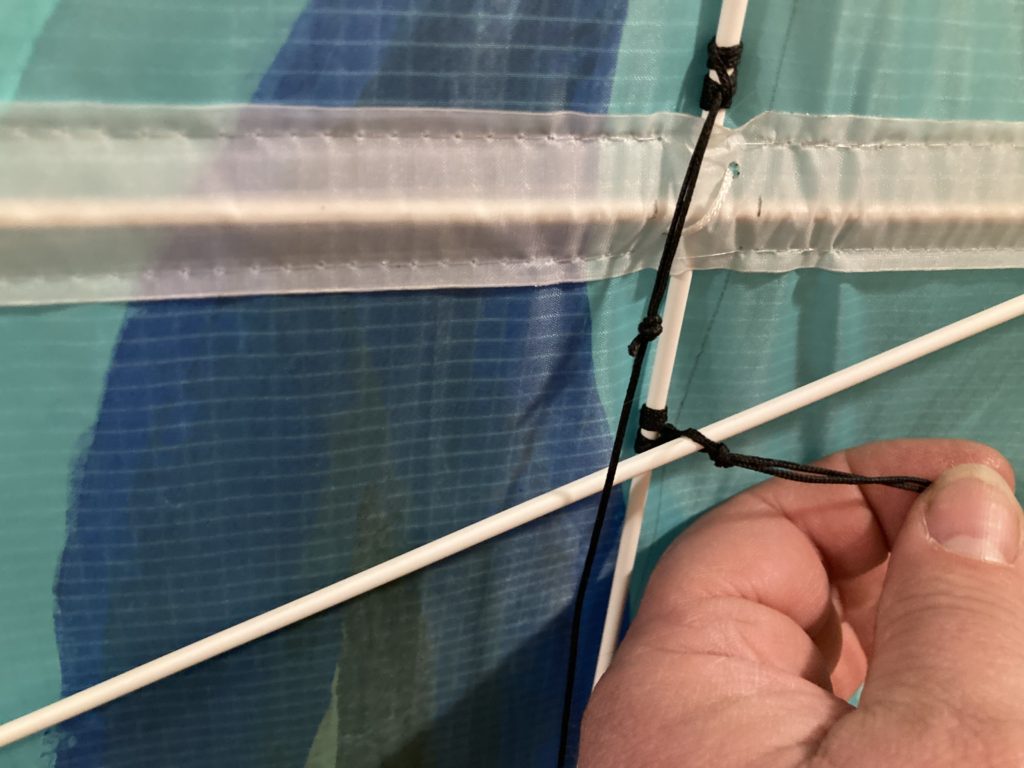
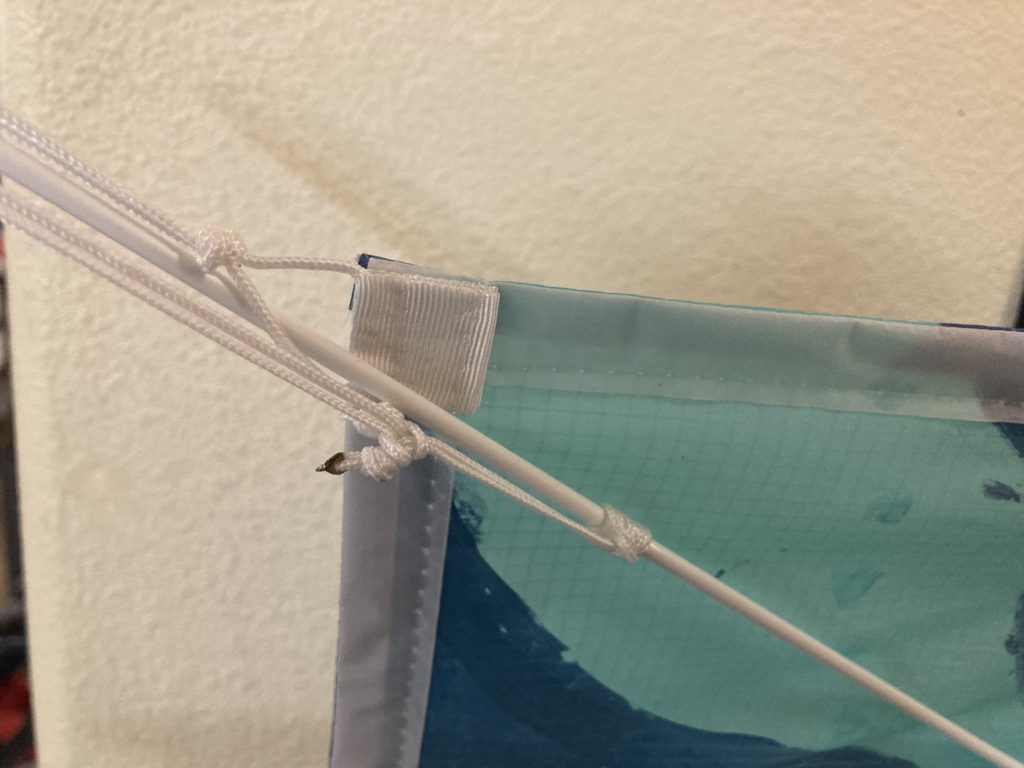
Now that the first cross assembly is in place, use a larks head to tie the large loop on the bottom of the sail to the small loop from the prusik knot tied to the bottom rod that crosses the kite, and then practice the knot on all the rods coming from the sleeves as well.
Now put the second cross assembly into place, and tie it in as well.
With the knots tied, place the two strands from the long loop over the arrow nock, then grasp the bottom of the sail and push the prusik knot toward the nose of the sail. Remember to be cautious of slivers from the fiberglass, Grasp the prusik knot on the line itself, not on the rod on either side of the knot. Repeat for the rest of the bottom rods.
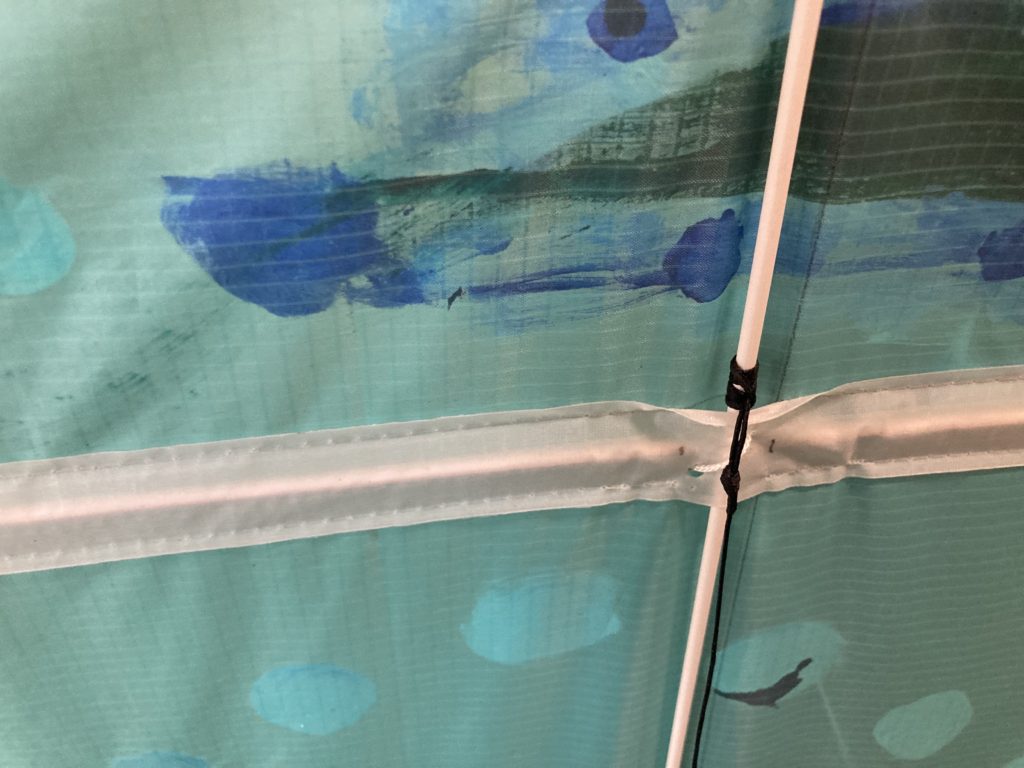
With the sail now under pressure, and all the rods all being held in, use the black bowline on each of the spreaders to create dihedral in the sail by sliding the prusik knots on both ends at least half way between the outer sleeves and the fitting on the sides of the sail. Once again, please handle the knot itself to avoid acquiring splinters from the fiberglass!
Congratulations!
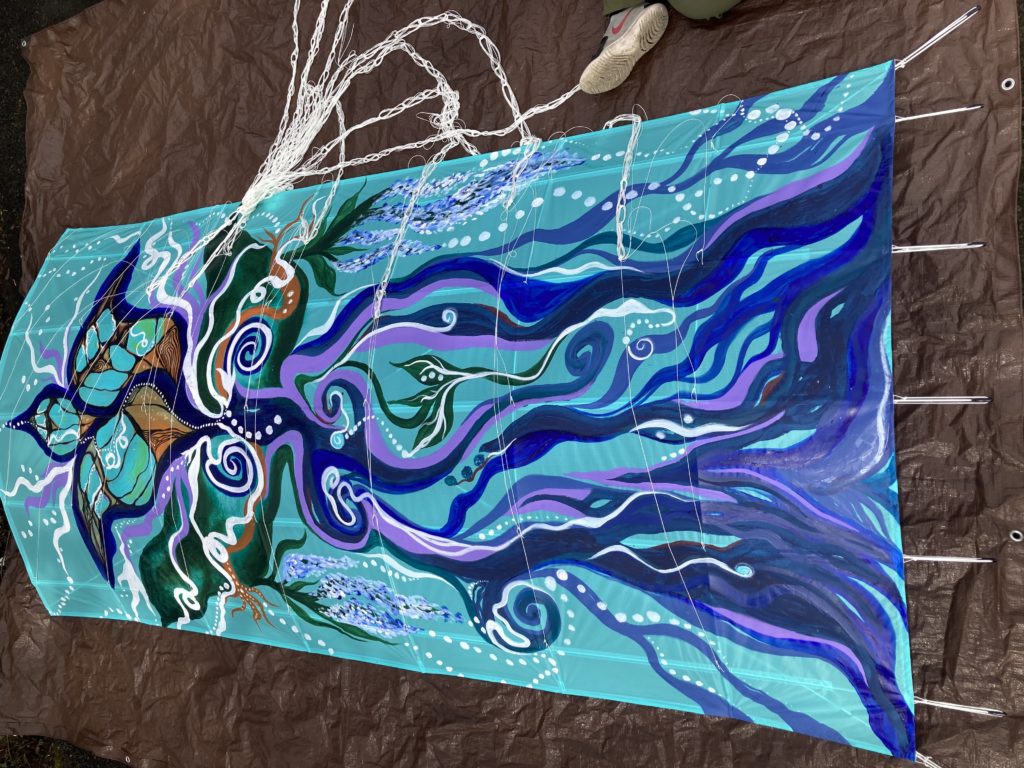
You’ve assembled the sail, stand it up and admire your handiwork.

